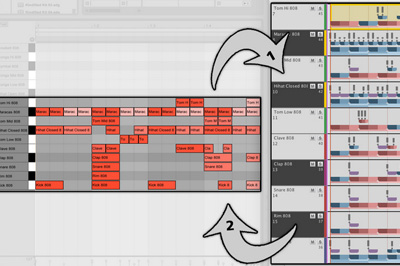
Arranger Clip Selection
At WaveDNA, we nerd out on Ableton Live. Hard. Our passion and nerdery was the drive behind developing the Max for Live plugin loosely referred to as Liquid Clips.
If you don’t know what Liquid Rhythm’s Max for Live patch looks like, check out this video.
For a while now, users of our Max for Live patch have used Liquid Rhythm to edit clips in Live’s Session view.
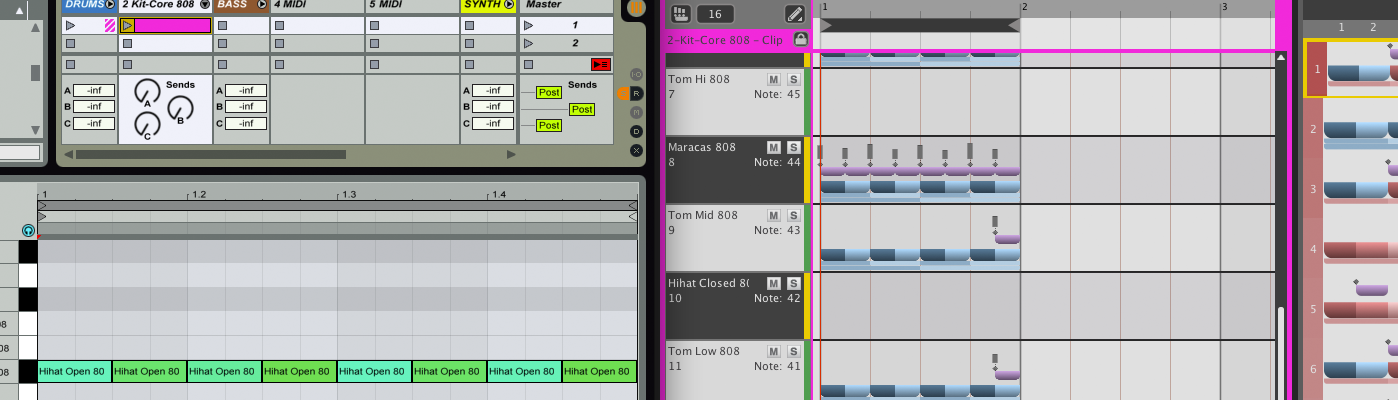
New to v1.4, you now have the ability to edit clips in Live’s Arranger as well, to bring Liquid Rhythm to your Live work flow. In the picture below, we can see a Live clip in the Arranger (top left), it’s contents (bottom left), and Liquid Rhythm on the right displaying the contents of the Live clip.
You can select any clip in Live’s Arranger and edit its contents with Liquid Rhythm.
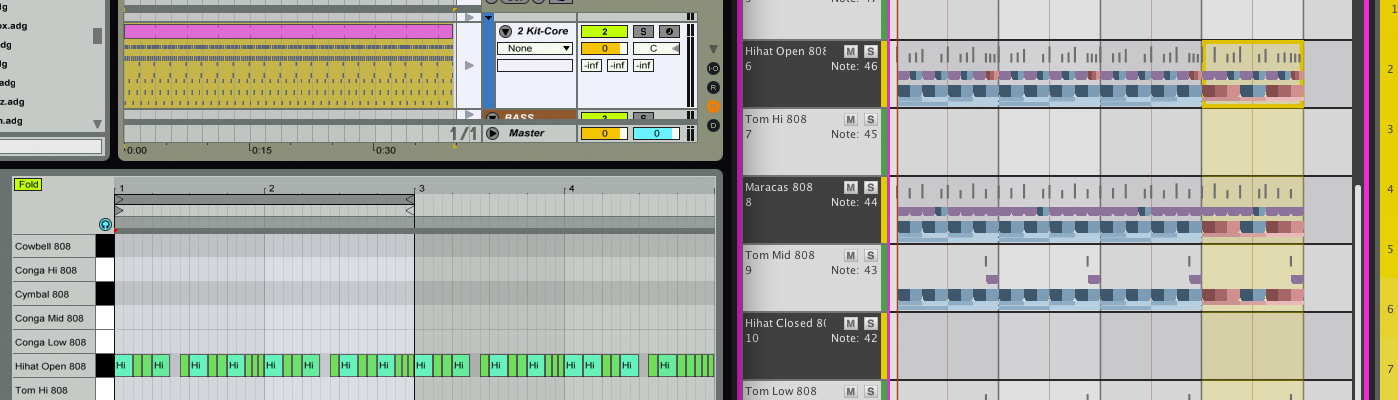
Liquid Rhythm also stays focused on the contents of each clip in the Arranger. This means that if you loop the clip across the Arranger like so…
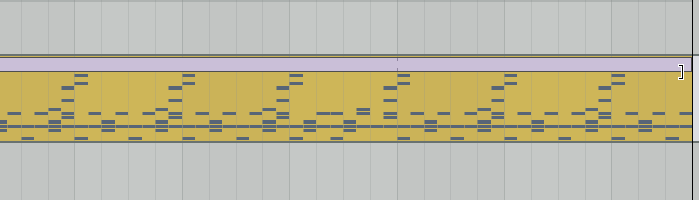
… Liquid Rhythm will display the original performance only (and not the subsequent copies). So you can make larger edits with fewer and simpler commands.
A note about the behaviour of this feature: Liquid Rhythm can read the clip in the arranger, but cannot determine where it exists in the timeline. For this reason, editing clips in the arranger means working without a playhead in Liquid Rhythm.
We are still working with Ableton and Cycling’74 to come up with a solution for this in the future.
Other Projects