Custom Instrument Type
Custom Instrument Type is a new addition to Liquid Rhythm v1.4, benefitting users of the Max For Live patch. It lets you choose instrument family types to make full use of Liquid Rhythm’s pattern suggestion feature.
Where would this come in handy? Well, here’s a scenario: You’re an Ableton user with Liquid Rhythm’s Max for Live patch installed, and you create your own kits using samples on your computer [customize your own MIDI Note mappings]. You can remap MIDI notes using Ableton’s Drum Racks or most any 3rd party sampler but for this example, we’ll use Native Instrument’s Kontakt 5.
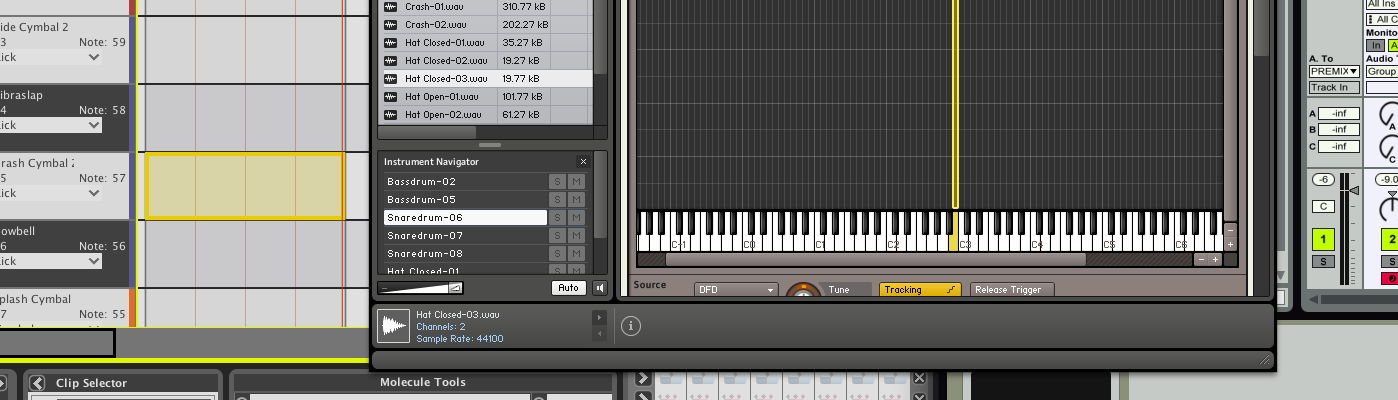
Lots of people prefer to customize their MIDI mappings to suit their needs– for example, they use a keyboard to trigger drums. This includes myself, so I can chime in with personal experiences: When I choose which MIDI note numbers to put my samples on, I’m thinking less about default specs and more about what feels good on the keyboard for me. This means that a) my MIDI note mapping might be somewhat different from the default layout and b) Liquid Rhythm’s interpretation of what kind of instrument is assigned to a given MIDI note will need to be adjusted. Especially if I want to take advantage of the Beat Builder.
If this sounds like you, after you’ve loaded and mapped a custom kit, just take a second to select Custom MIDI Note Mappings and adjust the Instrument Types for the tracks you’re using.
By the way, Liquid Rhythm and Ableton Live both follow the default MIDI mappings according to General MIDI. To learn more about it, follow this link.
To activate it, right-click any of Liquid Rhythm’s track headers and select Custom MIDI Note Mappings.

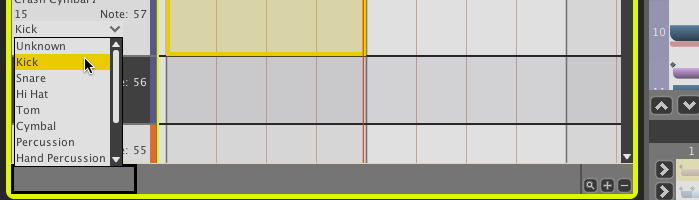
To set the Custom Instrument type for a selected track, click the drop-down menu that appeared on the track headers. In the example below, the Instrument Type chosen is Kick.
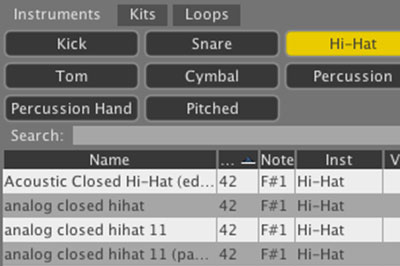
By default, the BeatBuilder contains suggestions for commonly occurring rhythm patterns for the type of track you have selected, such as Kick, Snare, or Hi Hat. With the Custom Instrument Type feature, you can show patterns specific to the Instrument Type you selected for that track.
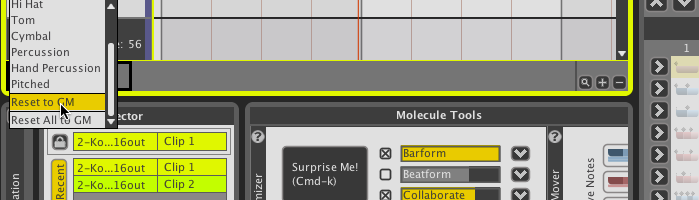
You can also reset any or all of the tracks Instrument Types by clicking the drop-down menu and selecting either Reset to GM or Reset All to GM.
Custom Instrument Types are stored and saved for the entire Ableton application, and remembered between launches. Also, because one instance of Liquid Rhythm can control all the clips in a project, all the tracks in a project end up sharing the same Instrument mappings.
A helpful tip: When you’re not using Ableton’s Drum Racks with Liquid Rhythm’s Max for Live patch, you have 127 MIDI notes available to you by default.
That’s a lot of scrolling, especially if you know what octave your notes are mapped to.
To hide the tracks you’re not using:
- Click the Scale button on Liquid Rhythm’s toolbar.
- Deselect the octaves you want to hide (C0, C1, etc).
- Click the Apply button.
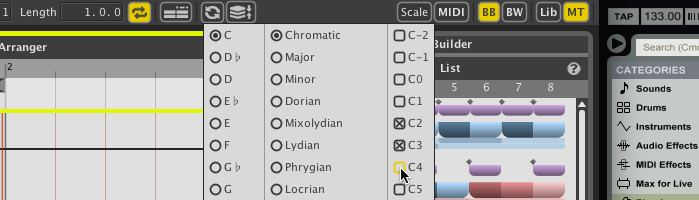
In the example above, the arrangement will shrink down to those two octaves make navigating Liquid Rhythm’s Arranger much more convenient.
Other Projects